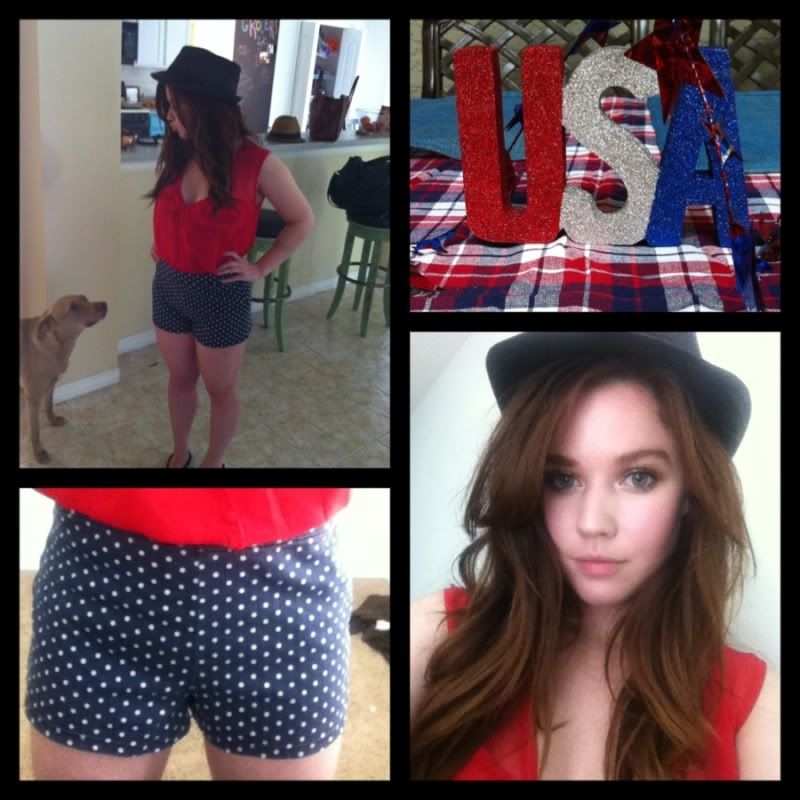
(blouse: blush-gifted, shorts: forever21, hat: forever21)
Sunday, July 8, 2012
happy 4th, from us...
We know, we know...we are a little late on wishing America (and Asher) a Happy Birthday, but we were busy with a great day on the lake. We wanted to share 'What We Wore' on this special holiday edition. Enjoy!
Tuesday, June 26, 2012
Lickin' Lips
We've seen it on the luscious lips of Lana Del Rey..and lets be honest, who can NOT stop and stare at her beauty?
So, it became of instinctive aptitude to adopt a part of her maven mystery...
LIP LINER.
See, the problem began when noticing that I naturally have very pale and nude lips. Yes, thats great when youre Penelope Cruz and have iconic olive undertones. However, for someone who is as fair skinned as her lips, it can some times become problematic.
Using any sort of color on my lips can, at times, can be too much depending on my wardrobe and scenario. I started using lip liner as color because it kept my lips looking plump--by being able to sculpt the outter lips (a la Lana) but at the same time allowed the matte coloring to keep them looking basic and natural. These sticks are cheaper than lipstick and alleviates me from being washed out in pictures.
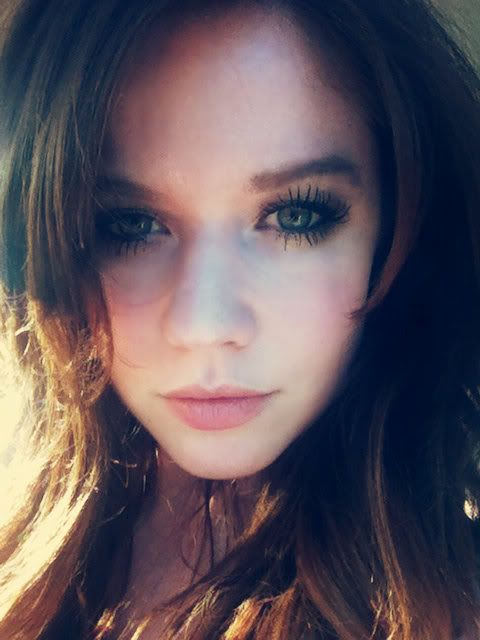
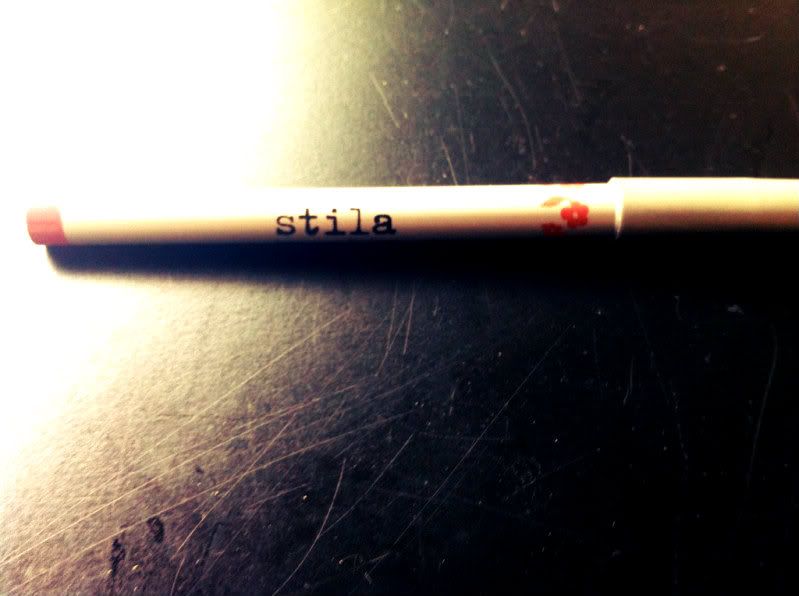
In this picture I used Stilla Aspiring and applied it as liner as well as color all over my lips. I also used it in the shoot with AsheliPhotography which you can find here.
Give it a try!
So, it became of instinctive aptitude to adopt a part of her maven mystery...
LIP LINER.
See, the problem began when noticing that I naturally have very pale and nude lips. Yes, thats great when youre Penelope Cruz and have iconic olive undertones. However, for someone who is as fair skinned as her lips, it can some times become problematic.
Using any sort of color on my lips can, at times, can be too much depending on my wardrobe and scenario. I started using lip liner as color because it kept my lips looking plump--by being able to sculpt the outter lips (a la Lana) but at the same time allowed the matte coloring to keep them looking basic and natural. These sticks are cheaper than lipstick and alleviates me from being washed out in pictures.
In this picture I used Stilla Aspiring and applied it as liner as well as color all over my lips. I also used it in the shoot with AsheliPhotography which you can find here.
Give it a try!
Monday, June 25, 2012
the bun is in the eye of the beholder.
being that we are being hit by tropical storm debby here in the "sunshine state", we need an easy go-to updo that won't fuss when it gets pelted by storm force winds and rain. the solution? our favorite, a braid - but a bit better!
follow these easy steps to have a beautiful, braided bun in no time. this look is perfect for a sophisticated corporate workday, or a night out on the town.
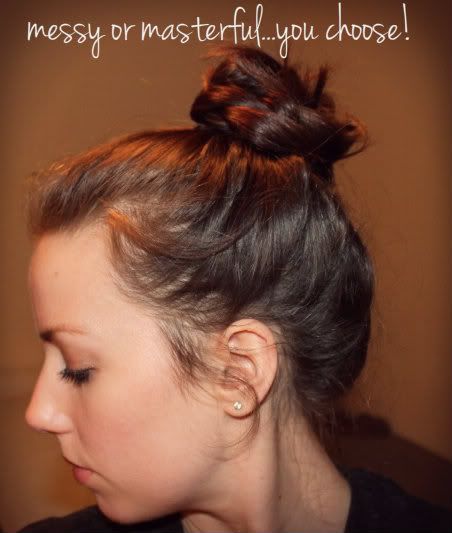
here's the look, from my night on the town (a braided bun paired with grunge):
here's how you do it:
1. while hair is damp, spray tonic and thickening hair spray on roots, lightly.
2. allow to dry, or blow dry.
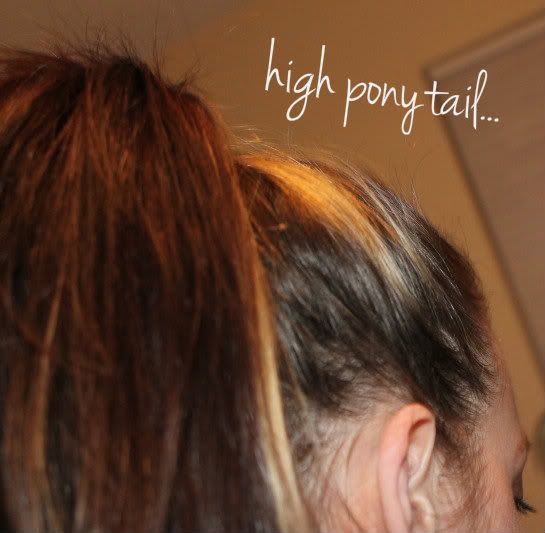
3. put hair in a high ponytail.(or low...you can also do this style at the base of the neck!)
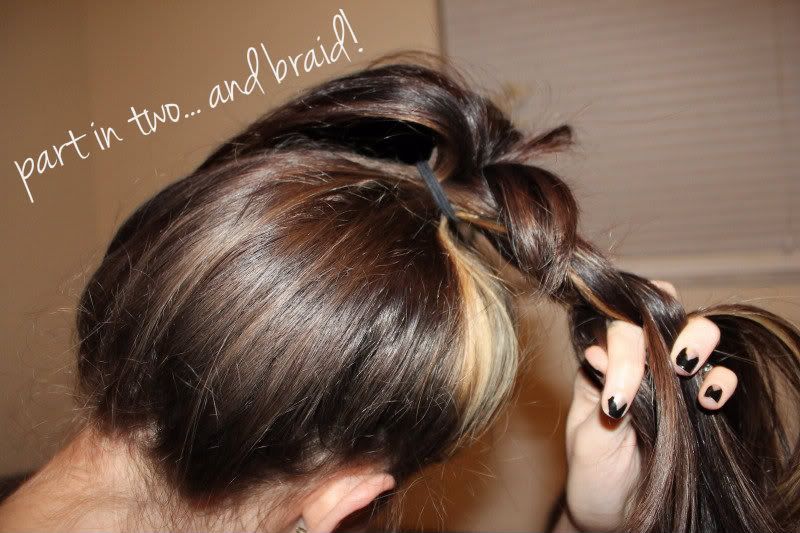
4. separate into two sections.
5. braid each section tightly, and secure each end with a clear pony.
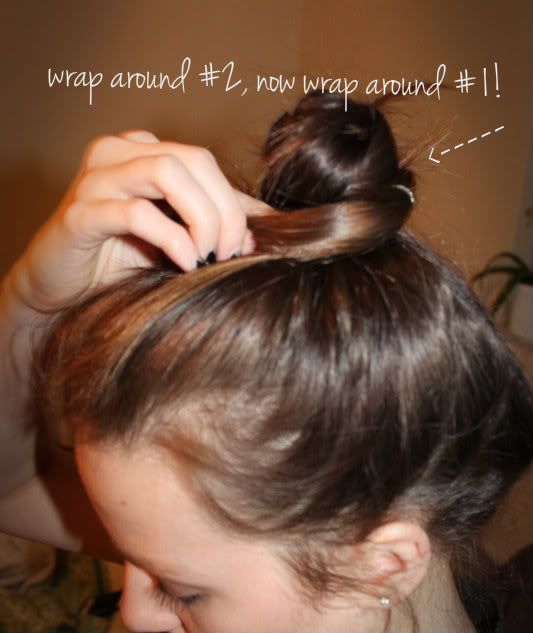
6. take one of the braids (#1) and wrap it around the remaining braid (#2), until braid #1 is fully wrapped around braid #2. pin in place.
7. Now, wrap braid #2 in a circle around the bun you just created, making it thicker.
8. pin in place and voila!
as you can see, I have many layers, leading to lots of stray hairs. to get a more refined and polished look a la the first photo, use bumble&bumble tonic and thickening hair spray to hold those babies down - and rain will only help your fabulous look!
follow these easy steps to have a beautiful, braided bun in no time. this look is perfect for a sophisticated corporate workday, or a night out on the town.
here's the look, from my night on the town (a braided bun paired with grunge):
photo [kevin kelii / kk photography ]
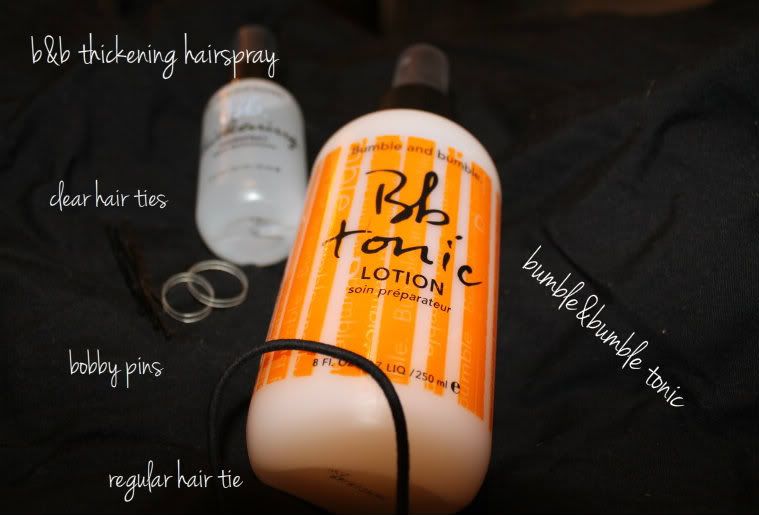
here's what you need to get it:here's how you do it:
2. allow to dry, or blow dry.
3. put hair in a high ponytail.(or low...you can also do this style at the base of the neck!)
4. separate into two sections.
5. braid each section tightly, and secure each end with a clear pony.
6. take one of the braids (#1) and wrap it around the remaining braid (#2), until braid #1 is fully wrapped around braid #2. pin in place.
7. Now, wrap braid #2 in a circle around the bun you just created, making it thicker.
8. pin in place and voila!
as you can see, I have many layers, leading to lots of stray hairs. to get a more refined and polished look a la the first photo, use bumble&bumble tonic and thickening hair spray to hold those babies down - and rain will only help your fabulous look!
Subscribe to:
Posts (Atom)